
Professional Custom Merchandise Design Tips for 2026
Table of Contents
- What You'll Need Before You Start Designing
- Step 1: Set Clear Goals and a Realistic Budget
- Step 2: Choose the Right Custom Merchandise Design Tools
- Step 3: Follow Best Practices for Branded Apparel
- Step 4: Study Merchandise Design Examples for Businesses
- Step 5: Prepare Files and Choose Materials That Last
- Common Mistakes to Avoid in Custom Merchandise Design
- Conclusion
- Frequently Asked Questions
Last Updated: September 27, 2026
What You'll Need Before You Start Designing
Good merchandise starts long before you open a design file. Most people jump straight into artwork and then wonder why the finished product looks flat. The fix is simple: gather your foundations first.
Here's what to have ready before you touch any software:
- Your logo in a vector format (SVG, EPS or PDF)
- Your exact brand colours, with hex codes written down
- 2-3 fonts you're licensed to use commercially
- A clear idea of who the merchandise is for
- A rough quantity and a delivery deadline
If you're missing the vector logo, stop and get one made. A low-resolution PNG will pixelate the moment it's enlarged for print. That single mistake ruins more merchandise than any other.
At FOG Creative, we've seen this play out across hundreds of jobs, from pet ID tags to film crew gifts. The briefs that go smoothly always arrive with these basics sorted.
Step 1: Set Clear Goals and a Realistic Budget
Professional custom merchandise design tips start with one question: what should this item actually do? A giveaway at a trade show has a different job to a gift for a long-serving employee.
Write down your goal in one sentence. Then pick the item that serves it.
- Brand awareness: low-cost, high-volume items people keep
- Client gifting: fewer, higher-quality pieces with real staying power
- Staff recognition: personalisation that names the person
- Retail resale: durable goods that survive daily use
Budget matters just as much as the goal. Set a total figure, then work backwards to a cost per unit. Pricing always depends on quantity, materials and finishing, so ask for a quote rather than guessing.
One insider point: doubling a print run often costs far less per unit than doubling the number of designs. Fewer designs, bigger runs, better value.
Step 2: Choose the Right Custom Merchandise Design Tools
The best custom merchandise design tools are the ones you'll actually learn. Vector software gives you clean, scalable artwork, which is what every printer and engraver needs.
For most people, that means one of these:
- Adobe Illustrator: the industry standard for logo and vector work
- Affinity Designer: a one-off purchase, great for smaller budgets
- Inkscape: free and open source, fine for simple layouts
- Canva: quick for mockups, but not for production-ready vectors
Use Canva to sketch ideas, then rebuild the final artwork in proper vector software. That way you get speed early and quality at the end.
If design isn't your strength, brief a professional instead. A single well-built file will serve every future order, from branded apparel to laser-engraved metal.
Step 3: Follow Best Practices for Branded Apparel
The best practices for branded apparel come down to three things: placement, size and contrast. Get those right and even a simple logo looks premium.
Placement rules that hold up:
- Left chest: logos 8-10cm wide, sitting level with the wearer's heart
- Full front: 25-28cm wide, centred, keeping clear of seams
- Sleeve: no wider than 7cm, or it wraps awkwardly
- Back: 28-30cm wide, upper third of the garment
Size your logo so it reads from a normal conversation distance. Too small and it vanishes; too big and it looks like a billboard.
Contrast decides legibility. A dark logo on a dark garment disappears. If your brand colours clash with the fabric, add a light outline or move the logo to a lighter area.
Step 4: Study Merchandise Design Examples for Businesses
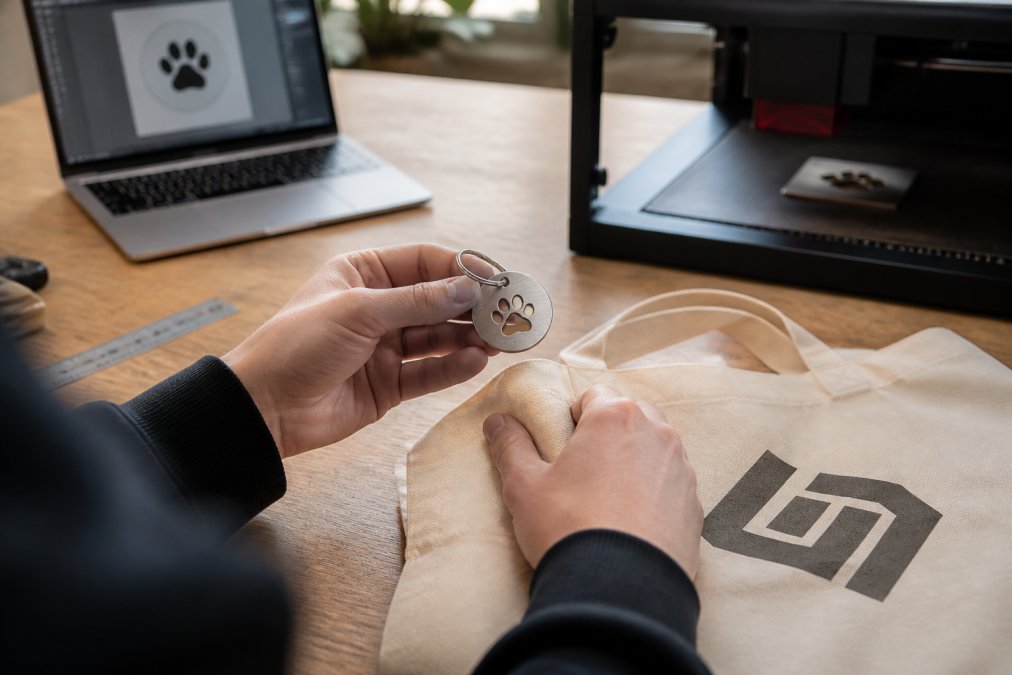
Strong merchandise design examples for businesses share a pattern: restraint. The best items use one clear idea, executed well, rather than five competing elements.
Look at what works and why:
- A single bold mark on a plain tote beats a busy multi-colour print
- A laser-engraved logo on a metal tag lasts for years, unlike a sticker
- Personalised names turn a generic gift into something people keep
- Limited palettes look deliberate; too many colours look accidental
Study the items you admire and ask what makes them feel expensive. Usually it's the finish, not the artwork. Engraving, embroidery and debossing all read as premium because they change the surface itself.
Then check your own design against that standard. If it relies on a printed sticker to feel special, rethink the material.
Step 5: Prepare Files and Choose Materials That Last
File prep decides whether your design survives production. Send the wrong format and you'll get a phone call, a delay, or a poor result.
Prepare your files like this:
- Vector formats (SVG, EPS, PDF) for logos and line art
- 300 DPI minimum for any raster images
- Outlined fonts, so nothing substitutes on the printer's machine
- A bleed of 3mm on printed items
- Clear black-and-white versions for single-colour jobs
Materials deserve the same care. Metal and hard plastics take laser engraving beautifully and keep their finish for years. Cotton takes embroidery and screen print well. Cheap coated surfaces flake and fade, which is why the item felt disappointing last time.
Match the material to how the item will be used. A keyring gets knocked about; a display piece doesn't.
Common Mistakes to Avoid in Custom Merchandise Design
Most merchandise fails for predictable reasons. Avoiding these five mistakes will put you ahead of the majority of orders.
- Using a low-resolution logo. It pixelates the moment it's scaled up.
- Ignoring the material. A design that works on paper may fail on fabric or metal.
- Cramming in too much detail. Fine lines disappear at small sizes.
- Skipping the mockup. Always see a proof before production.
- Leaving it too late. Rush jobs limit your material and finishing choices.
The last one catches people out most. If you need engraved props or 200 pet ID tags by a fixed date, start the conversation early and confirm the timeline in writing.
Conclusion
Getting merchandise right comes down to preparation, not luck. Sort your brand assets, choose the right tools, and brief the job properly, and the finished item will look the part.
That's where FOG Creative comes in. We specialise in bespoke laser engraving and customisation, working with your own items or sourcing them for you. Our background in the film industry means we handle precise, one-off pieces as comfortably as bulk runs. And because we're based in North West London, we aim for a fast turnaround.
Contact FOG Creative to turn your idea into a finished piece, whether that's a personalised gift, branded merchandise or a custom prop.
Frequently Asked Questions
What makes for effective branded merchandise design?
Effective custom merchandise design starts with a clear goal. Decide whether the item is for staff, clients or events, then match the design to how it will be used. Keep the logo simple and legible at small sizes, choose colours that work on the chosen material, and avoid clutter. A design that looks good on screen can fail on fabric or metal, so always request a physical sample or digital proof before committing to a full run.
How do I choose the right materials for custom merchandise?
Match the material to the item's purpose and lifespan. For hard goods like pet ID tags or clapper boards, consider materials that resist wear and engrave cleanly. Consider the environment: items used outdoors may need specific finishes. Ask your supplier for advice on material suitability before placing a large order.
What are the best file formats for printing custom products?
Vector files such as AI, EPS or PDF are best because they scale without losing quality. If you only have a raster image, supply it at 300 DPI or higher at the final print size. Include a transparent background and convert all text to outlines. For laser engraving, a high-contrast black-and-white file works well. Always check the supplier's file requirements, as some processes need specific setups for colour separation or line weight.
How can I ensure my brand logo looks professional on merchandise?
Simplify your logo for merchandise. Remove fine details and thin lines that disappear when scaled down. Use a single-colour or two-colour version when the full-colour logo would clash with the product. Test the logo at the actual size it will appear, such as 20mm on a tag or 100mm on a shirt. Request a digital mock-up or physical proof on the chosen material before production, because screen colours rarely match printed or engraved results exactly.